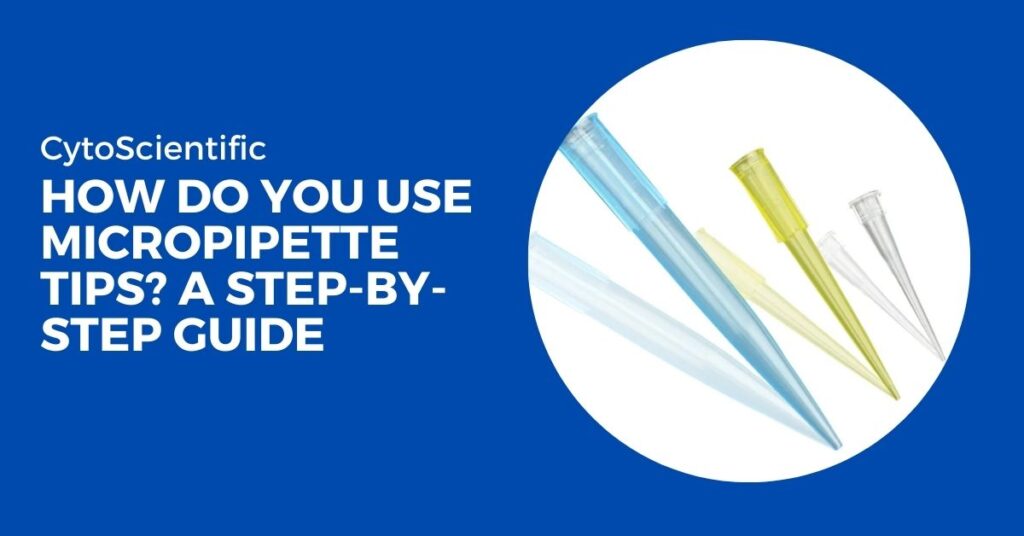
Micropipettes are essential tools in laboratories for accurately measuring and transferring small volumes of liquids. However, to ensure accurate results, it’s crucial to use micropipette tips correctly. Whether you’re new to lab work or just looking to improve your technique, this step-by-step guide will walk you through the right way to use micropipette tips, ensuring precision and minimizing contamination.
What Are Micropipette Tips?
Micropipette tips are disposable attachments that fit onto micropipettes. They allow you to transfer specific amounts of liquid without contaminating the pipette or the sample. Think of them as a barrier that ensures precise liquid handling. The right usage of tips not only maintains the accuracy of your measurements but also ensures safety, especially when dealing with sensitive or hazardous substances.
Step-by-Step Guide to Using Micropipette Tips
Select the Correct Tip
The first step in using micropipette tips is choosing the right one for the task. Tips come in different sizes based on the volume you need to handle. For example:
- Small-volume tips for micropipettes measuring tiny amounts (1–10 µL).
- Larger tips for larger volumes (up to 1000 µL).
Ensure the tip is compatible with your micropipette and suitable for your experiment.
Attach the Tip to the Micropipette
Once you’ve selected the right tip:
- Press the micropipette into the tip box gently but firmly.
- Listen for a slight “click” or feel some resistance to ensure the tip is securely attached. If the tip isn’t properly fitted, it could lead to inaccurate measurements or even cause leakage.
Set the Desired Volume on the Micropipette
Next, adjust the volume on the micropipette. Rotate it gently to increase or decrease the volume as indicated on the micropipette’s display.
Make sure to check your settings carefully:
- Rotate the dial until the correct volume appears on the display.
- Double-check that you’ve set it to the exact microliter (µL) needed.
Draw the Liquid
Once your micropipette and tip are prepared, you can proceed to draw the liquid.
- Hold the micropipette vertically and press the plunger down to the first stop. This limits the air displacement to the desired volume.
- Gently insert the tip into the liquid, just below the surface (avoid going too deep).
Gently release the plunger to aspirate the liquid into the tip.
The slower you release, the more accurate your sample will be. Releasing too quickly can cause air bubbles, which distort the measurement.
Dispense the Liquid
To transfer the liquid into another container:
- Position the micropipette at a slight angle just above the surface of the receiving container.
- Press the plunger to the first stop to release most of the liquid.
- Once the liquid is dispensed, press the plunger to the second stop to expel any remaining liquid from the tip. This ensures that no liquid is left behind, especially in small-volume transfers.
Eject the Used Tip
Once you’ve finished using the tip, it’s important to dispose of it properly:
- Press the ejector button (located on most micropipettes) to safely discard the used tip into a waste bin.
- Never reuse a micropipette tip, as it can lead to cross-contamination, ruining your experiment results.
Change Tips for Each Sample
To avoid contamination between different liquids or solutions:
- Always change the micropipette tip before handling a new sample.
- Even if you are measuring the same type of liquid, it’s important to use a fresh tip each time to maintain accuracy and avoid contamination.
Key Tips for Success
- Avoid Air Bubbles: When drawing liquid, release the plunger slowly to prevent air bubbles. The presence of air bubbles can result in errors in measurement.
- Angle Matters: Keep the pipette tip at a slight angle when dispensing liquid to avoid splashing or incomplete transfer.
- Stay Steady: Move the micropipette slowly and steadily during both liquid uptake and dispensing for more precise measurements.
- Maintain a Clean Workspace: Micropipettes and tips are sensitive instruments, and even small particles of dust or contaminants can affect accuracy.
Common Mistakes to Avoid
- Using the wrong tip size: Always ensure that the tip matches the volume you need to transfer. Using a small tip for large volumes or vice versa can result in inaccurate measurements.
- Pipetting too quickly: If you press the plunger too fast, you risk creating air bubbles, leading to incorrect sample volumes.
- Not changing tips between samples: This can cause contamination, which can ruin experiments, especially in sensitive work like molecular biology.
Conclusion
Mastering the use of micropipette tips is essential for any lab work involving liquid handling. Following these steps will not only ensure precision but also keep your experiments free from contamination. Whether you’re working on research, diagnostics, or routine lab procedures, knowing how to use micropipette tips correctly is a vital skill.
FAQs
1. Can I reuse micropipette tips?
No, micropipette tips are designed for single use to prevent cross-contamination and ensure accurate results.
2. Why do I need to change micropipette tips between samples?
Changing tips between samples prevents contamination, ensuring the accuracy and reliability of your results.
3. What happens if I use the wrong tip size?
Using the wrong tip size can lead to inaccurate measurements, which may affect the outcome of your experiment.
4. How do I know if the tip is attached correctly?
You’ll feel slight resistance or hear a “click” when the tip is securely attached to the micropipette.
5. What is the second stop on the micropipette plunger for?
The second stop ensures that any remaining liquid in the tip is expelled, ensuring that the full volume has been transferred.

